A Step-by-Step DIY Guide to Home Efficiency Testing
Improving the efficiency of your home can lead to significant savings on your energy bills while also reducing your carbon footprint. Conducting a home efficiency test is a great way to identify areas where your home may be losing energy. This DIY guide will walk you through the process step-by-step, so you can start making your home more efficient today.
Understanding Home Efficiency
Before diving into the testing process, it's crucial to understand what home efficiency entails. Home efficiency refers to how well your home uses energy to maintain comfort. Inefficiencies can arise from leaks, poor insulation, outdated appliances, and more. By identifying these issues, you can address them to enhance performance.
Step 1: Conduct a Visual Inspection
Begin with a thorough visual inspection of your home. Look for cracks in walls, gaps around windows and doors, and any visible signs of wear that could be causing air leaks. Pay special attention to areas where different materials meet, such as around pipes or chimneys.
Checking Windows and Doors
Windows and doors are common culprits for energy loss. Check for drafts around them by holding a lit incense stick or a piece of tissue near the frames. If the smoke or tissue moves, you likely have a leak that needs sealing.
Step 2: Evaluate Insulation
Proper insulation is key to maintaining a consistent temperature in your home. Check your attic, walls, and floors for adequate insulation levels. If you're unsure about the amount needed, consult local building codes or seek expert advice.
Inspecting Attic Insulation
The attic is a significant source of energy loss if not properly insulated. Measure the depth of your attic insulation to ensure it meets recommended standards. Consider adding more if it's below par.

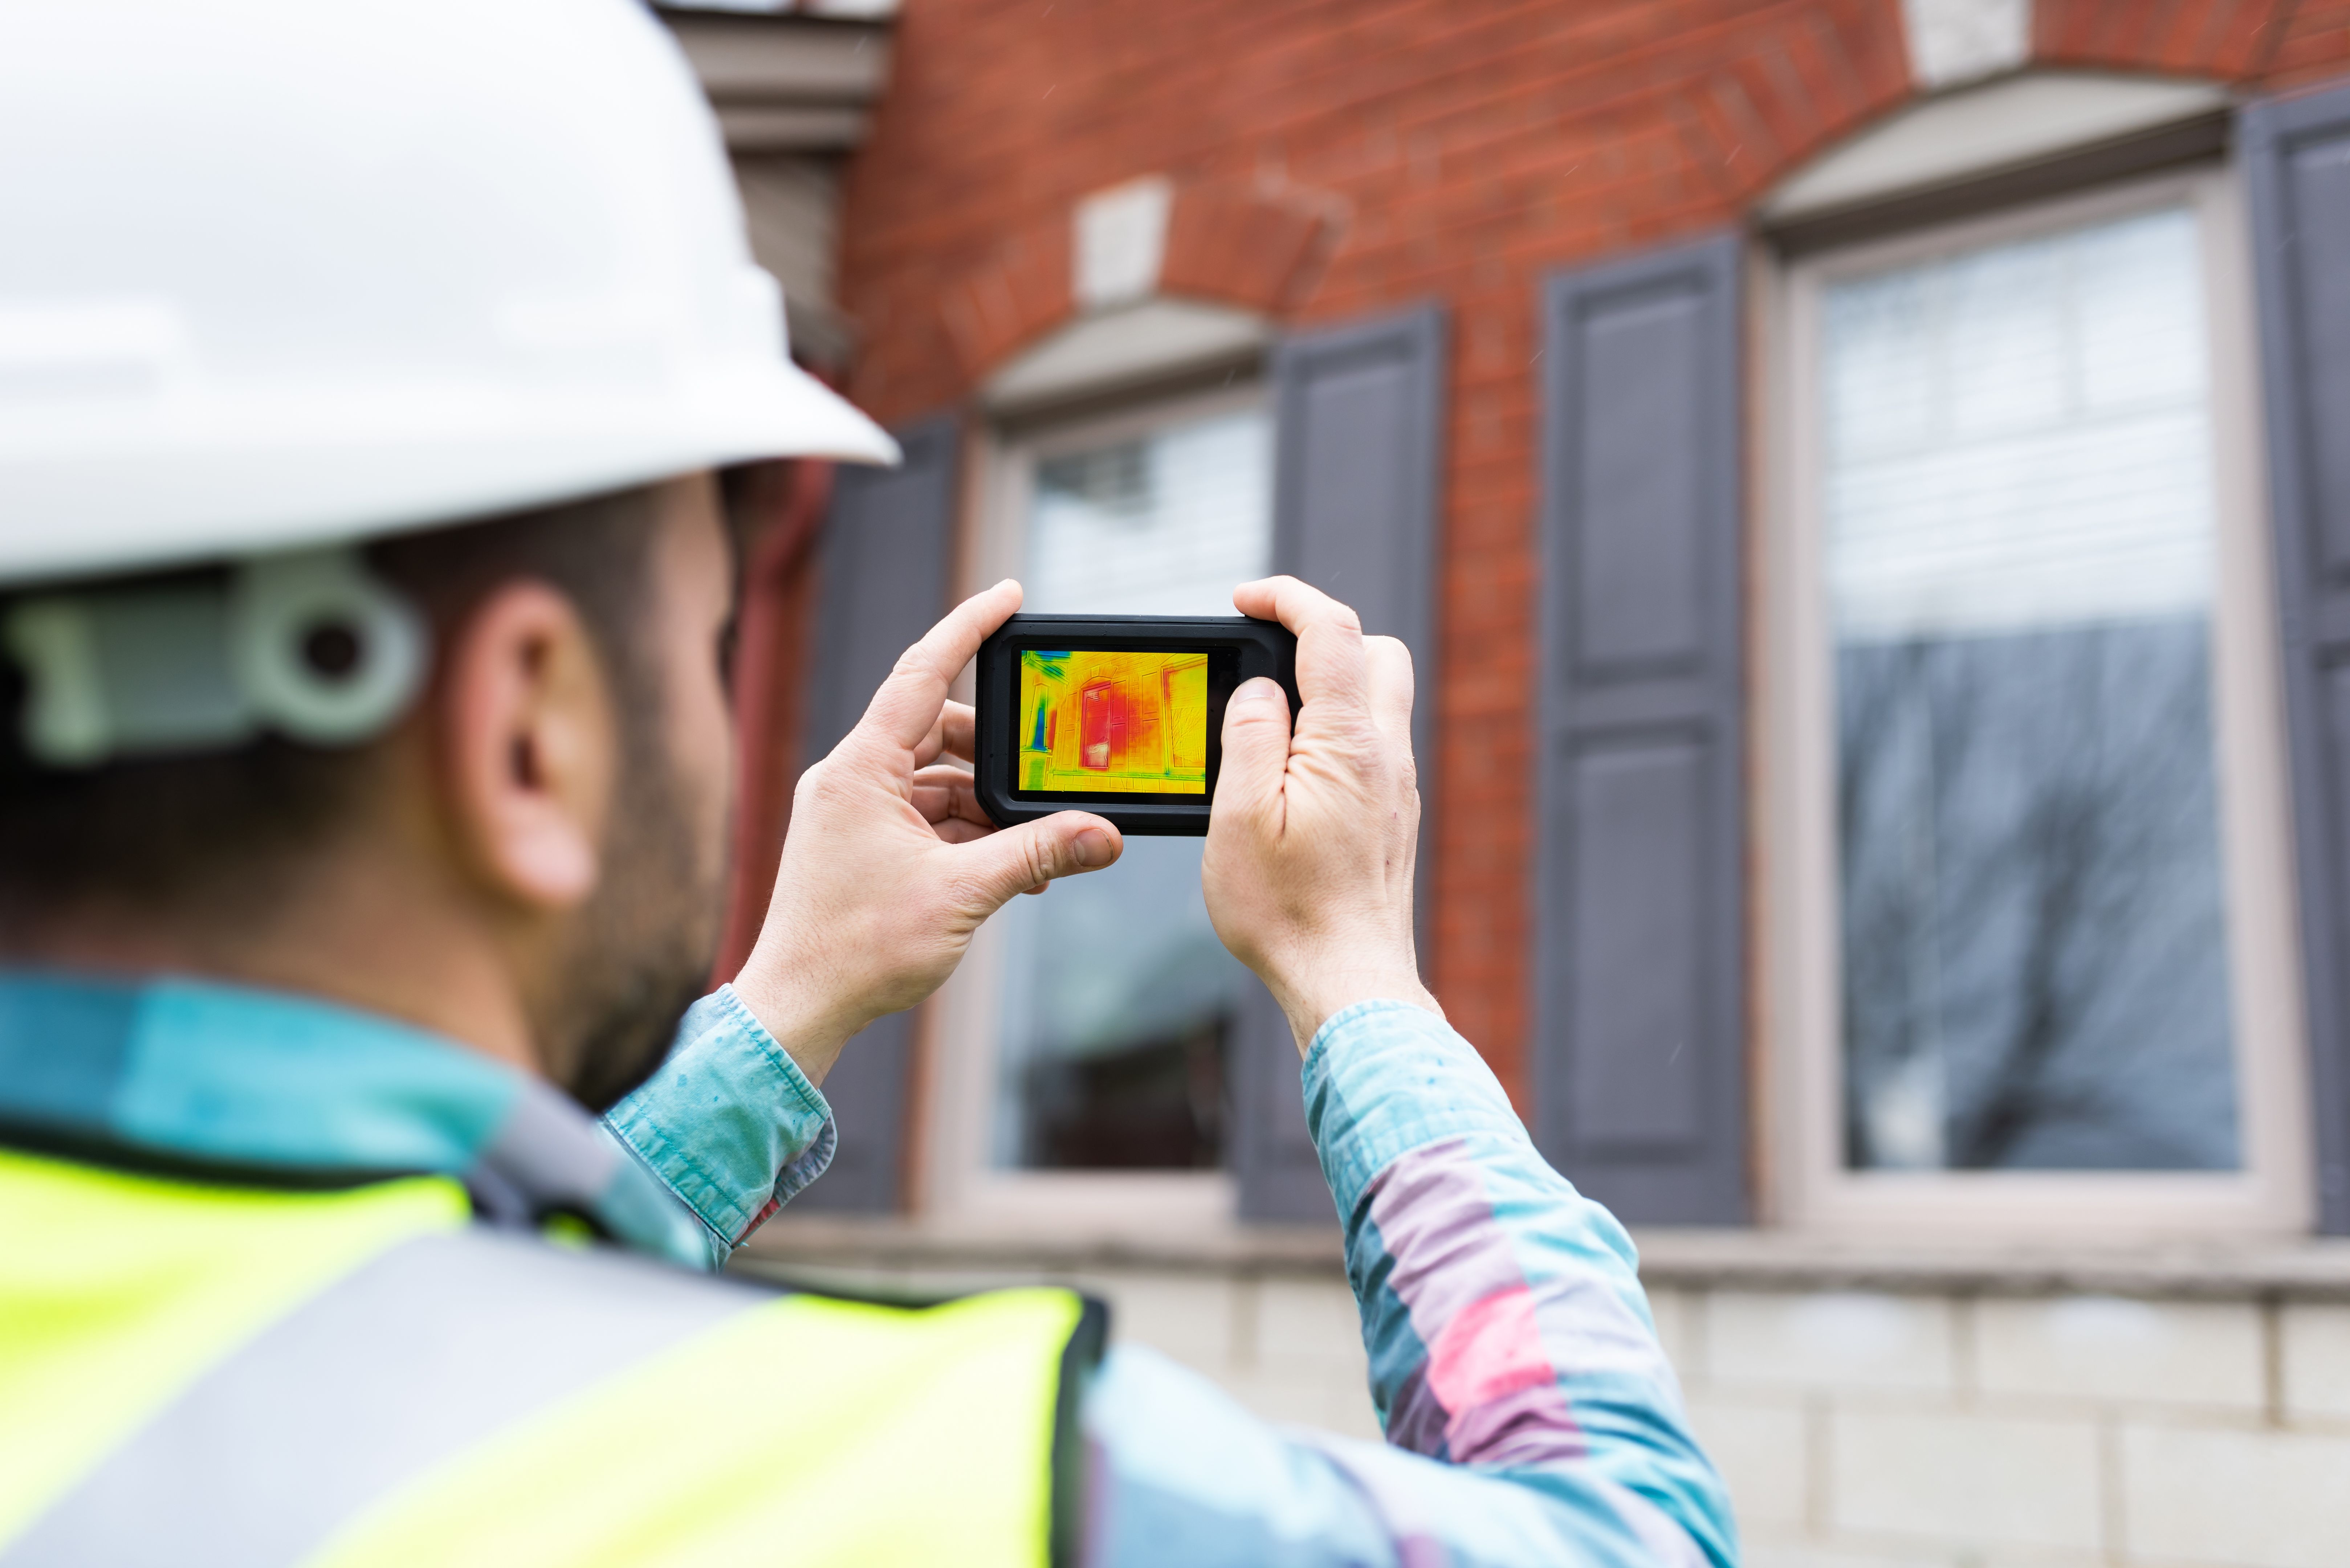
Step 3: Test for Air Leaks
Beyond visual inspections, you can perform a more thorough test for air leaks using a blower door test. While this requires specialized equipment, you can achieve similar results by sealing your home and using a fan to detect leaks.
The DIY Fan Method
Seal all doors and windows and turn off all exhaust fans. Use a large fan to blow air out of one window, creating a slight vacuum inside the home. Walk around with an incense stick or smoke pencil to locate leaks.
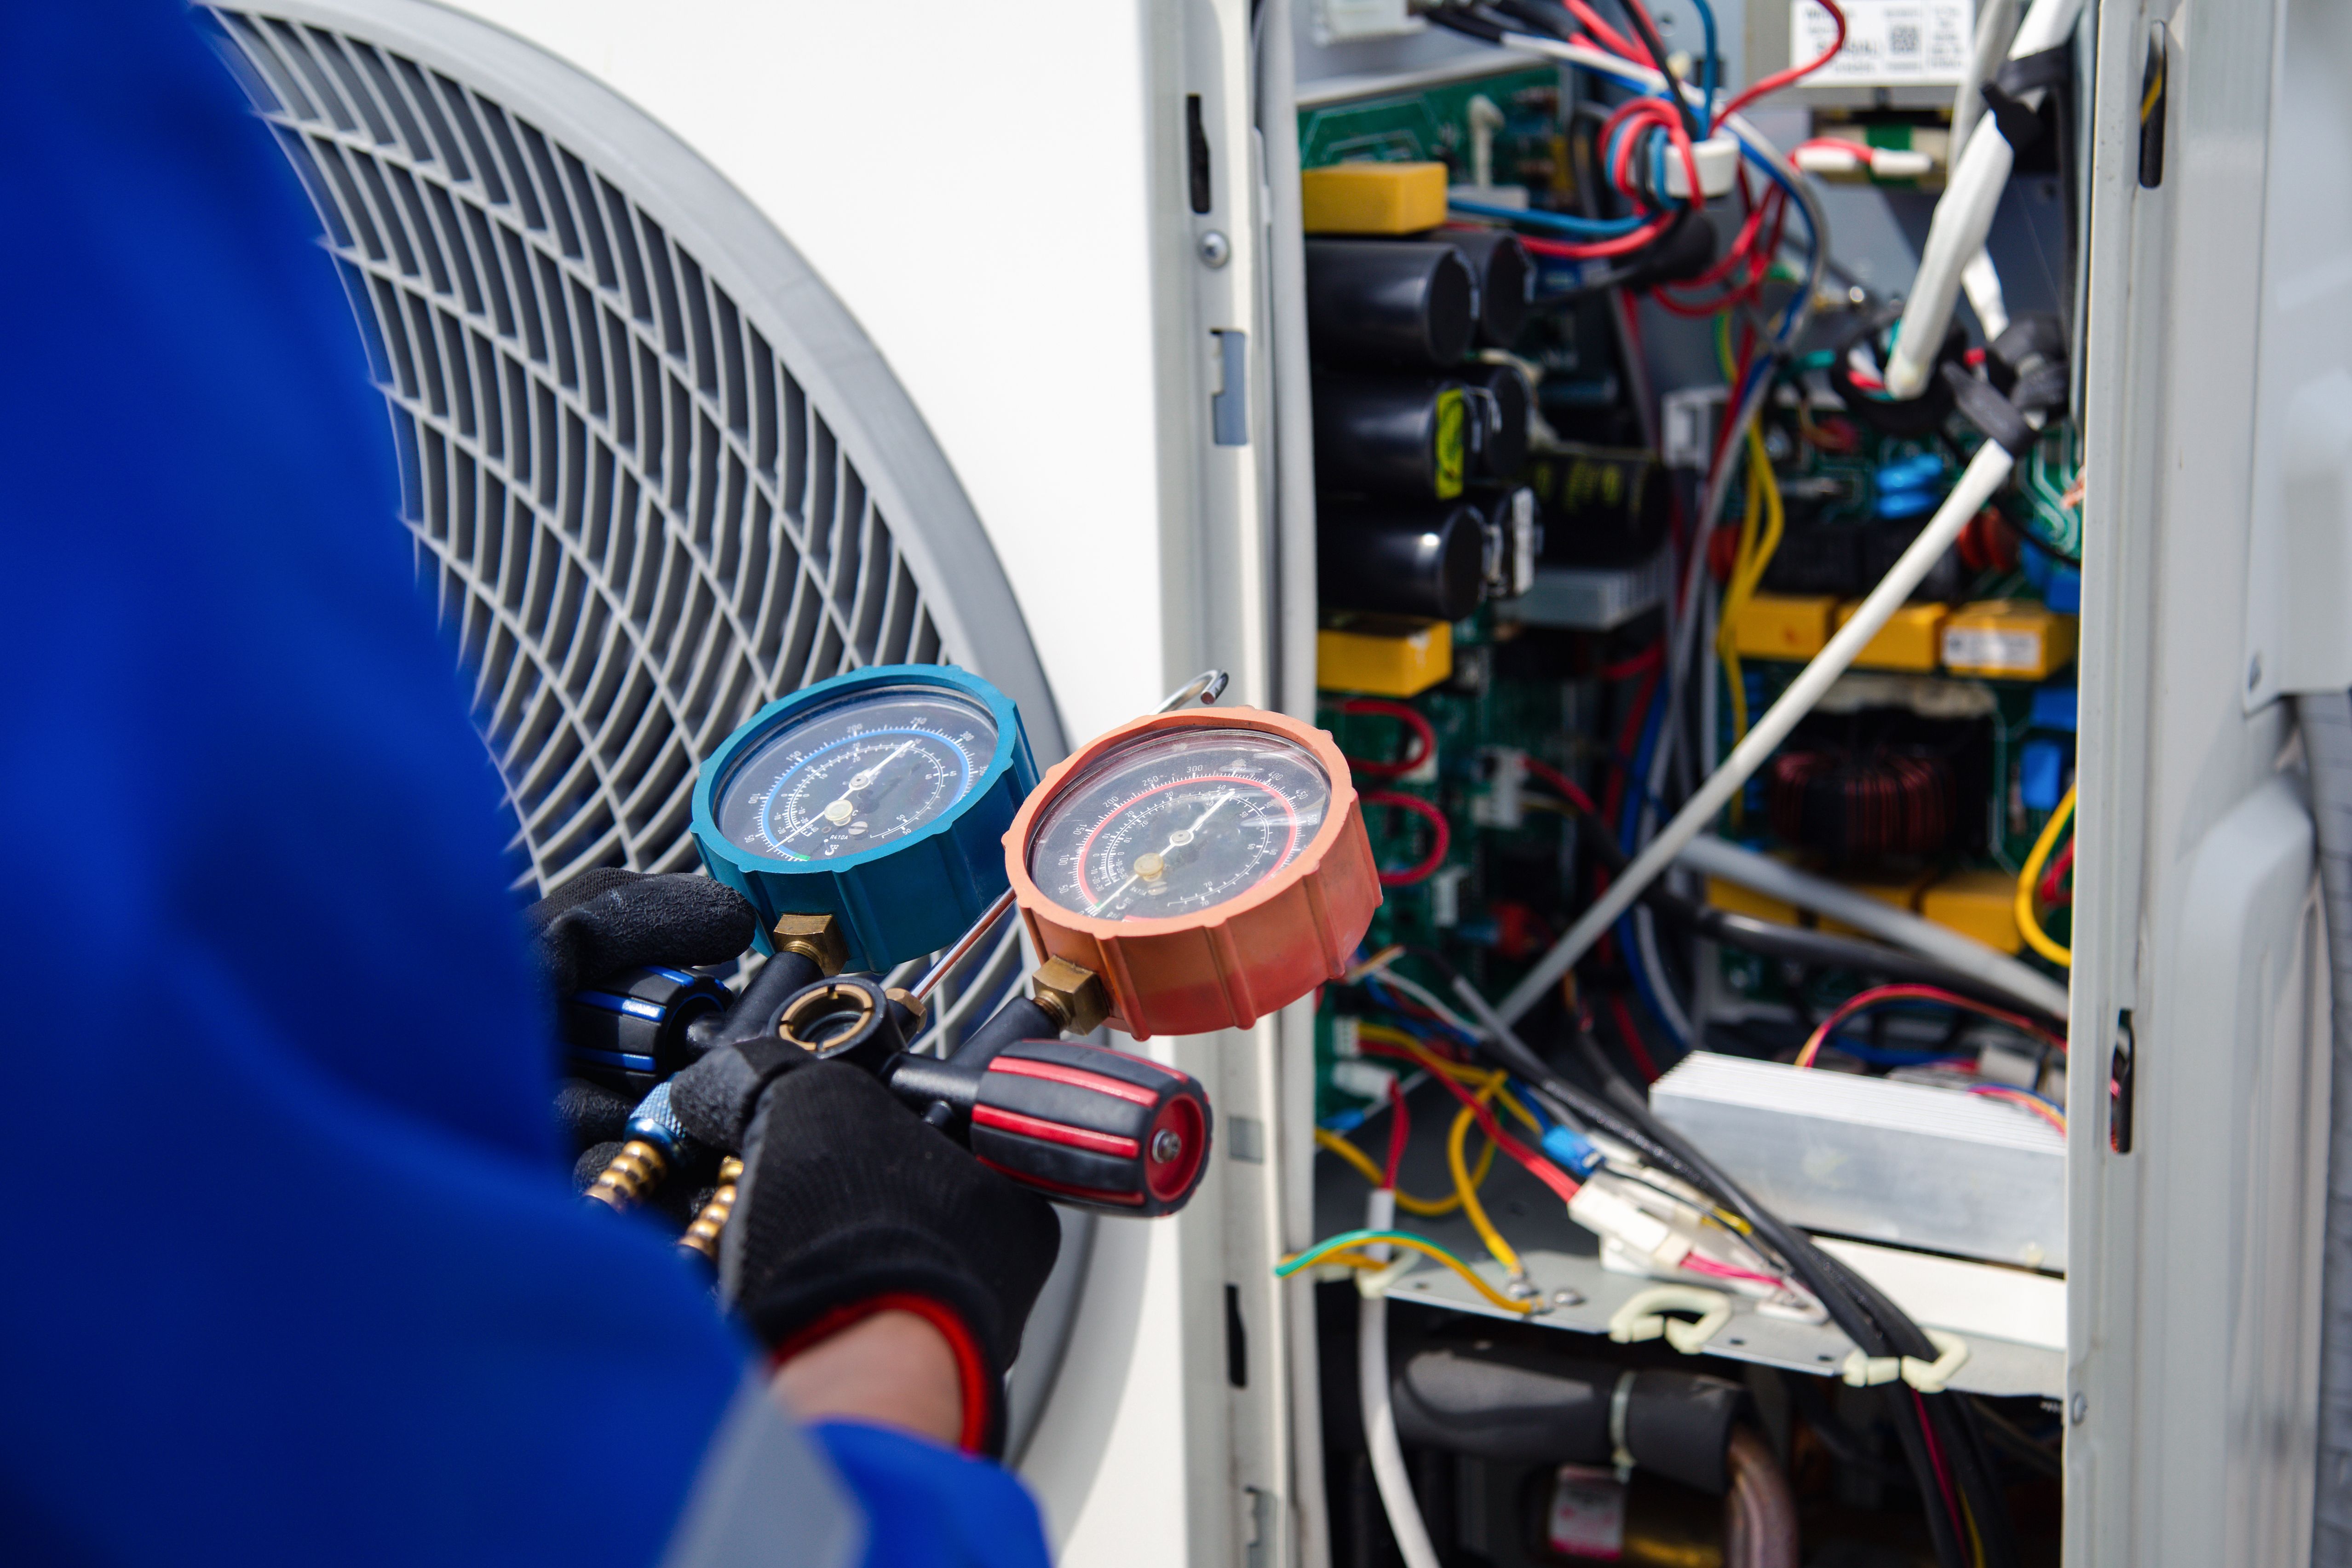
Step 4: Assess Heating and Cooling Systems
Your heating and cooling systems play a vital role in home efficiency. Check that they are functioning correctly and are regularly maintained. Change filters as needed and consider upgrading to a more efficient system if yours is outdated.
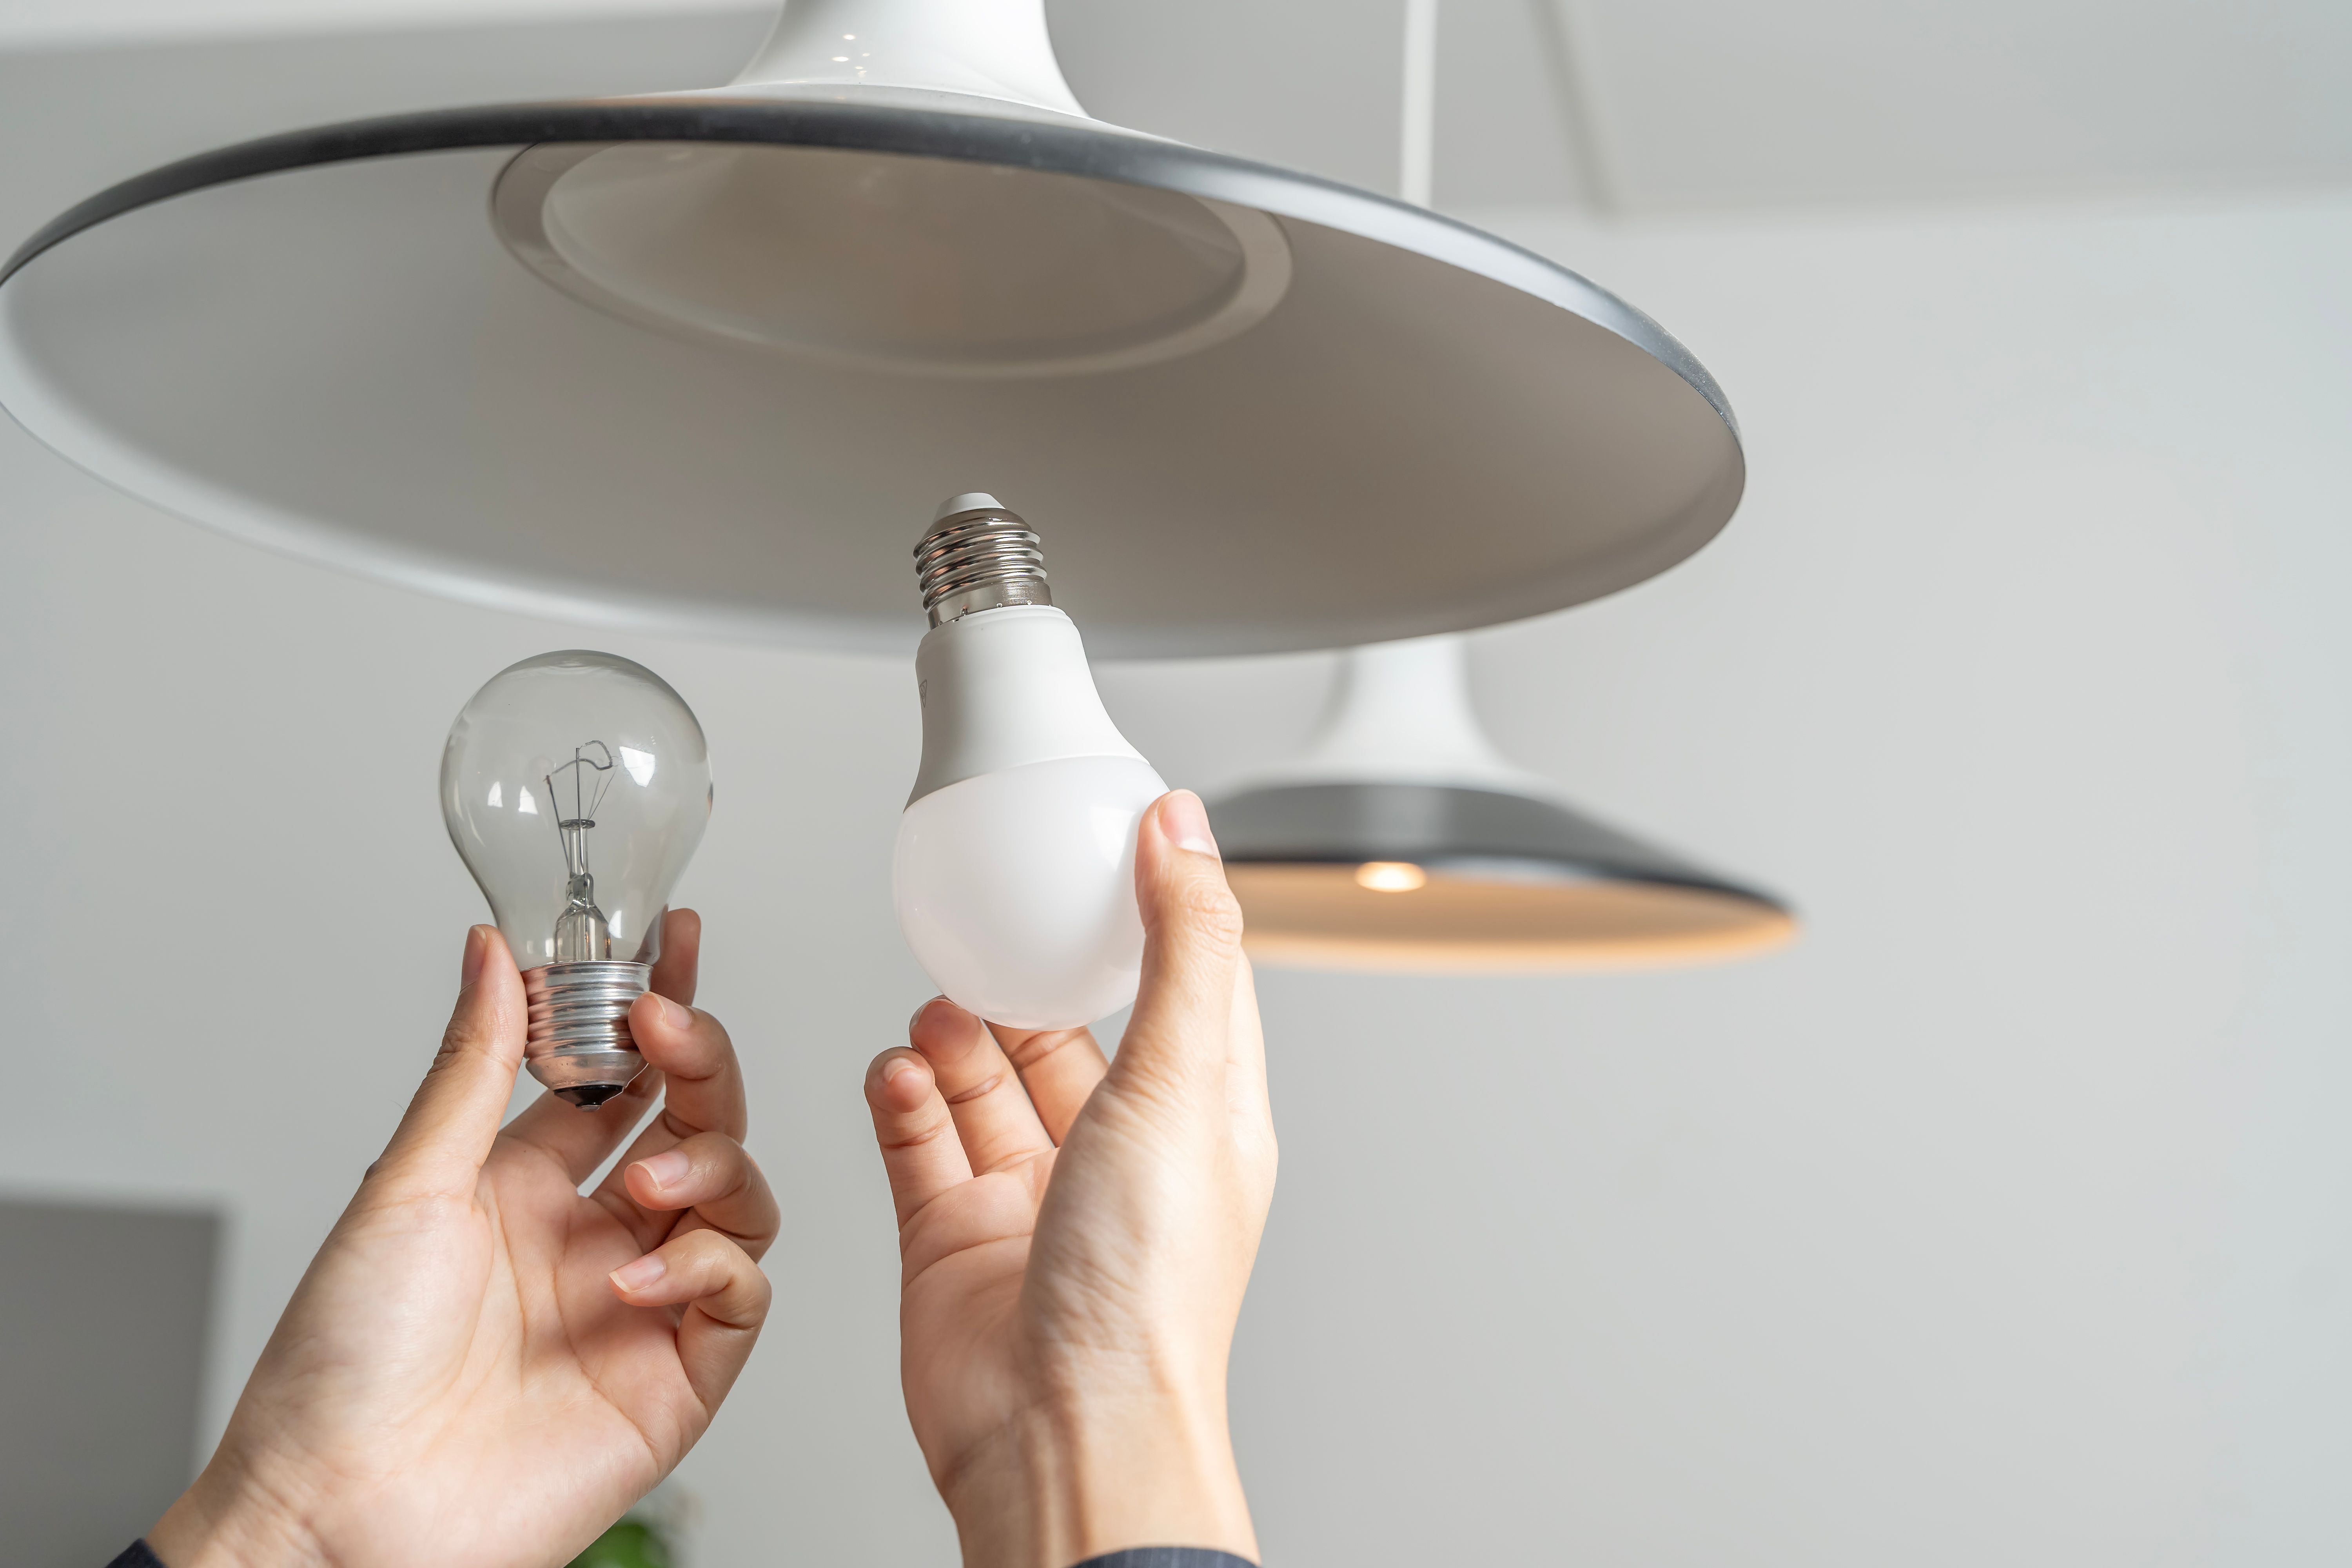
Step 5: Evaluate Appliances and Lighting
Finally, consider the efficiency of your appliances and lighting. Energy-efficient appliances and LED lighting can significantly reduce energy consumption. Check for the Energy Star label when shopping for new products.
By following these steps, you can conduct a comprehensive efficiency test of your home. Identifying and addressing inefficiencies will not only lower your energy bills but also contribute to a more sustainable future.